Forsaken is a horror and survival simulation game where players take on the role of either a Survivor or a Killer. Your main objective as a Killer is to hunt down and kill every Survivor before the timer runs out. As of writing, you can play as one of seven Killers in the game: C00lkidd, Slasher, Noli, John Doe, 1x1x1x1, Guest 666, and Nosferatu. These characters can be purchased using Player Points, which are earned by playing rounds.
This article is a comprehensive guide to all playable Killers in Forsaken.
All Killers in Forsaken
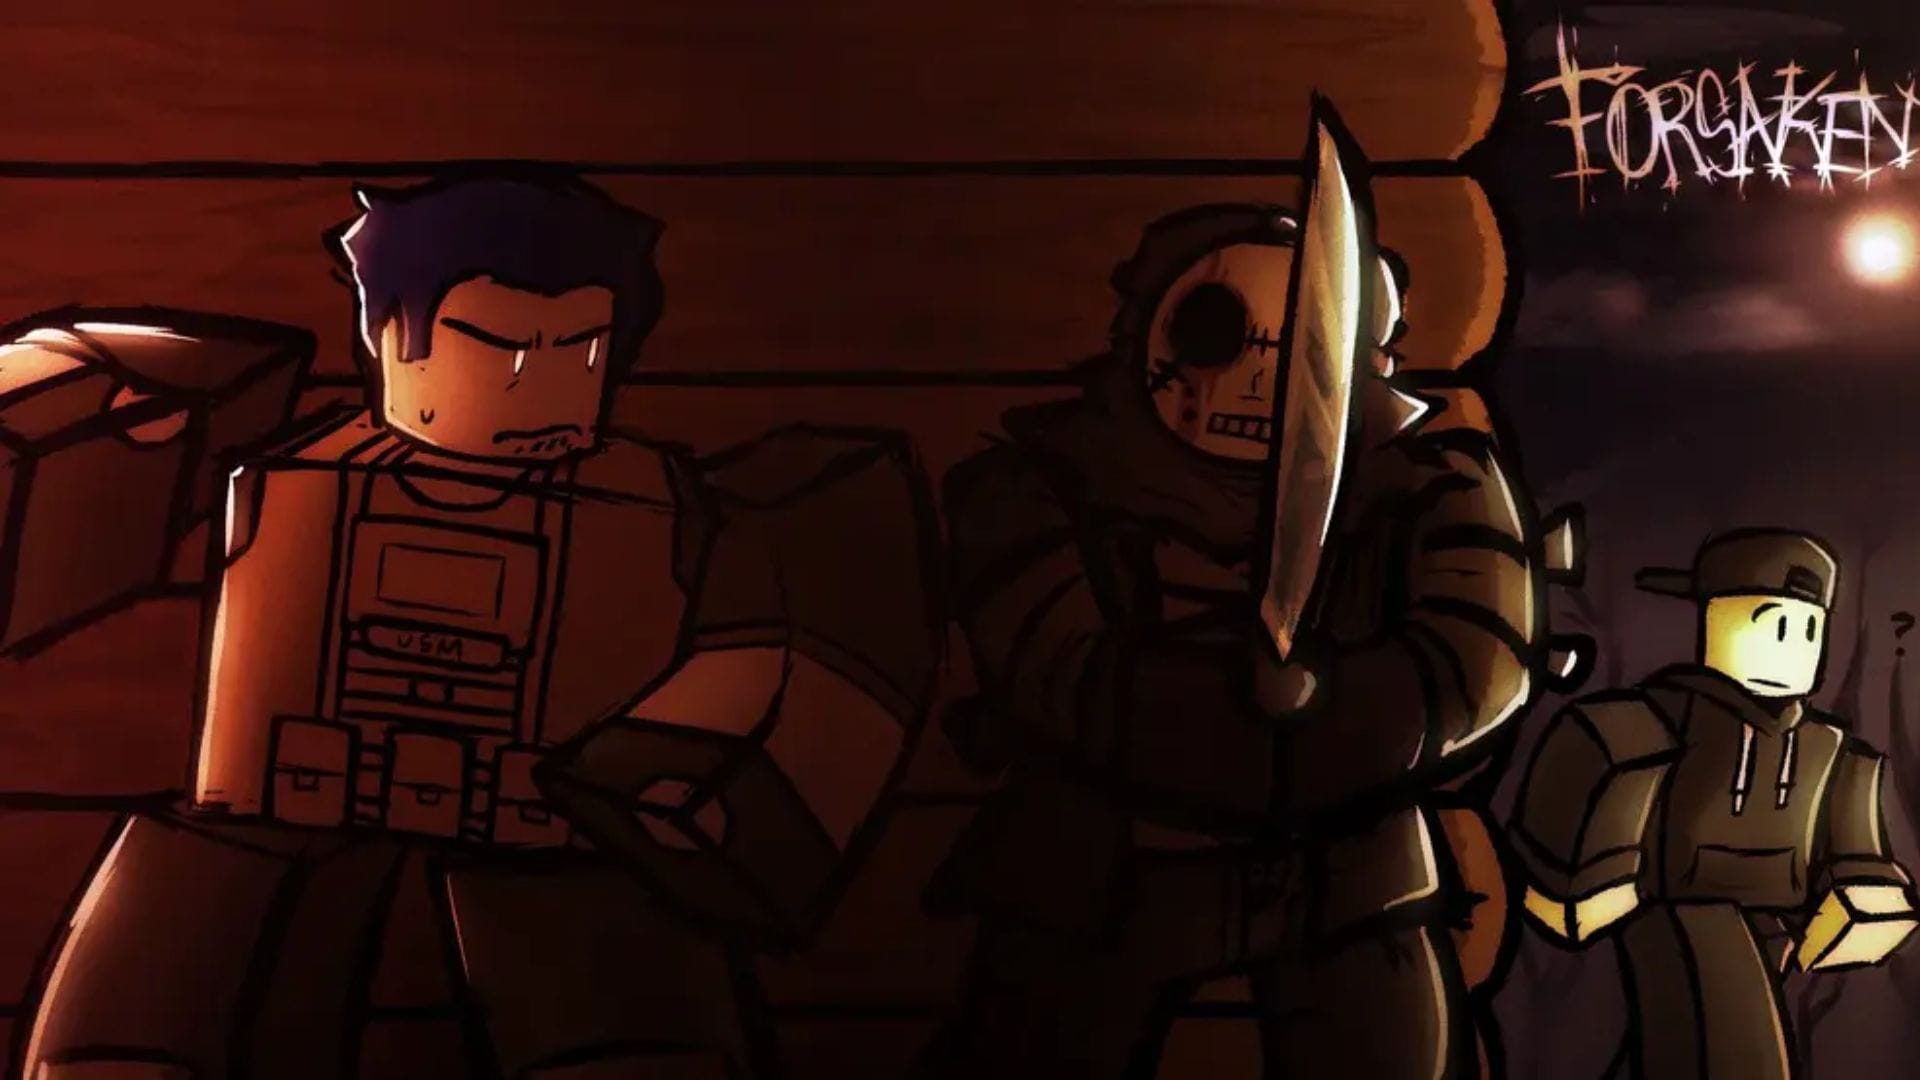
Slasher
Slasher on game banner (Image via Roblox || Forsaken Wiki)
All Slasher Abilities
Abilities
Effects
Cooldown
Damage
Slash
Slasher does a basic damage Slash with his machete; inflicts Bleeding I for 5 seconds. This Slash can hit through multiple people at once. A lunge is added to this attack if it’s used while Slasher’s Enraged.
1.9 seconds (0.8 if used while Enraged)
20 (25 if used while Enraged)
Behead
Slasher winds up a strong horizontal swing to the head of its target. Behead inflicts Helpless I for 8 seconds. After this attack, Slasher, regardless if it hit, gains Slowness I for 2 seconds. This attack will not slow Slasher down if it kills a Survivor.
18 seconds (12 seconds if used Enraged)
20 (35 if used while Enraged)
Gashing Wound
Slasher does a combination of slashes, starting with 2 hits from his machete, then quickly jams his chainsaw into the victim. Each slash deals around 1/5 of the attack’s total damage, but they all add up to either 50 or 70 depending on if Slasher’s Enraged
32 seconds (24 seconds if used Enraged)
50 (70 if used while Enraged)
Raging Pace
Slasher becomes Enraged. On activation, Slasher’s speed becomes 19 for 14 seconds, and the aura of the nearest survivor is revealed to him for 16 seconds. While in effect, Slasher becomes completely invincible, has his sprinting disabled, and has his stamina slowly capped at 70 over the span of 6.5 seconds. The cap is removed once he leaves his Enraged state.
30 seconds
–
Strategy and Tips
Slasher is a close-range, chase-focused Killer built for relentless pressure. He thrives when locking onto a single target and forcing mistakes but struggles heavily against looping due to the lack of ranged tools. His Enraged state (Raging Pace) is the key to closing gaps, giving him burst speed, tracking, and stronger lunges, making it ideal for finishing chases or regaining control.
To dominate with the Slasher, start chases with Slash to stack bleed and force panic, then use Behead when survivors rely on abilities, as shutting them down is often deadlier than raw damage. Save Gashing Wound for guaranteed hits (tight spaces, vaults, or after Enraged speed closes distance). Trigger Raging Pace to secure downs, not to start fights. Only use it when you already have pressure, so the survivor has nowhere left to run.
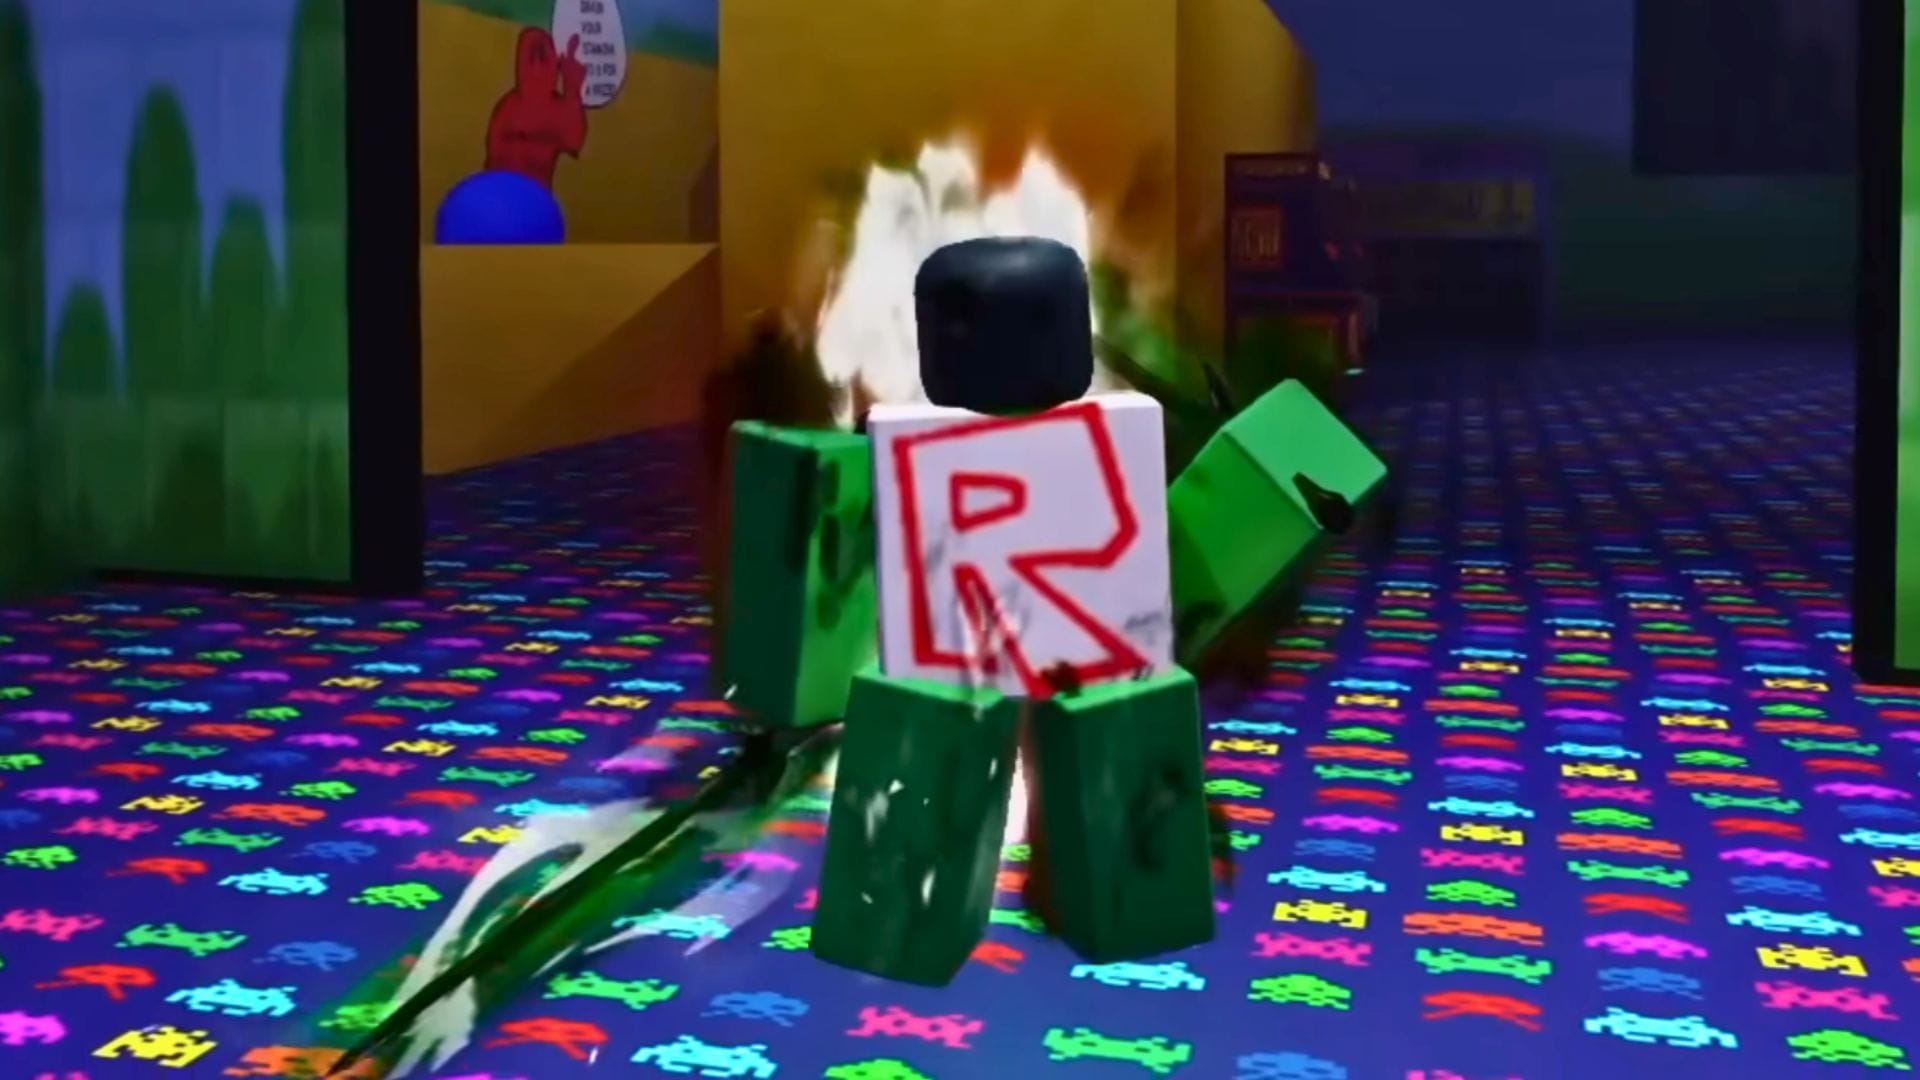
c00lkidd
c00lkidd Killer Showcase (Image via Roblox || YouTube/@PlesioRBLX)
All Slasher Abilities
Abilities
Effects
Cooldown
Damage
Punch
coolkidd does a basic punch.
2 seconds
26.5
Corrupt Nature
coolkidd immediately launches a projectile that goes through walls and survivors. If a survivor is hit by the projectile, they are damaged, inflicted with Slowness I for 4 seconds, and their aura is revealed to coolkidd for 10 seconds.
12 seconds
15
Walkspeed Override
After a very short windup, coolkidd does a lengthy lunge forwards for 1.34 seconds. The lunge stops prematurely upon collision of a survivor or obstacle. Colliding with a survivor during the lunge causes the survivor to take damage, applying the Buring I effect for 8 seconds
20 seconds
32
Pizza Delivery
After a long windup, coolkidd summons two pizza delivery bots. They automatically seek out the closest survivors. If a survivor is damaged by a bot, their aura is revealed to coolkidd for 15 seconds and gains Burning I and Slowness II for 3 seconds. Pizza delivery bots move at 14 speed normally, but will move at 19.5 speed if the targeted survivor is more than 70 studs away from it.
50 seconds
15
Strategy and Tips
c00lkidd is an aggressive, high-speed Killer built around burst damage and constant pressure. With a sprint speed of 28 and multiple gap-closing tools, he excels at quickly catching and eliminating Survivors. All of his abilities deal damage and can even hit multiple targets, but require good timing and aim.
To dominate with c00lkidd, you will have to overwhelm the survivors. Open with Corrupt Nature to tag and track, then immediately collapse with Walkspeed Override for burst damage before they reposition. Pizza Delivery should be used to split attention, drop it near objectives, so survivors are forced into bad movement. Use Punch as the finisher by closing the distance with abilities and cleaning up fast before they can reset.
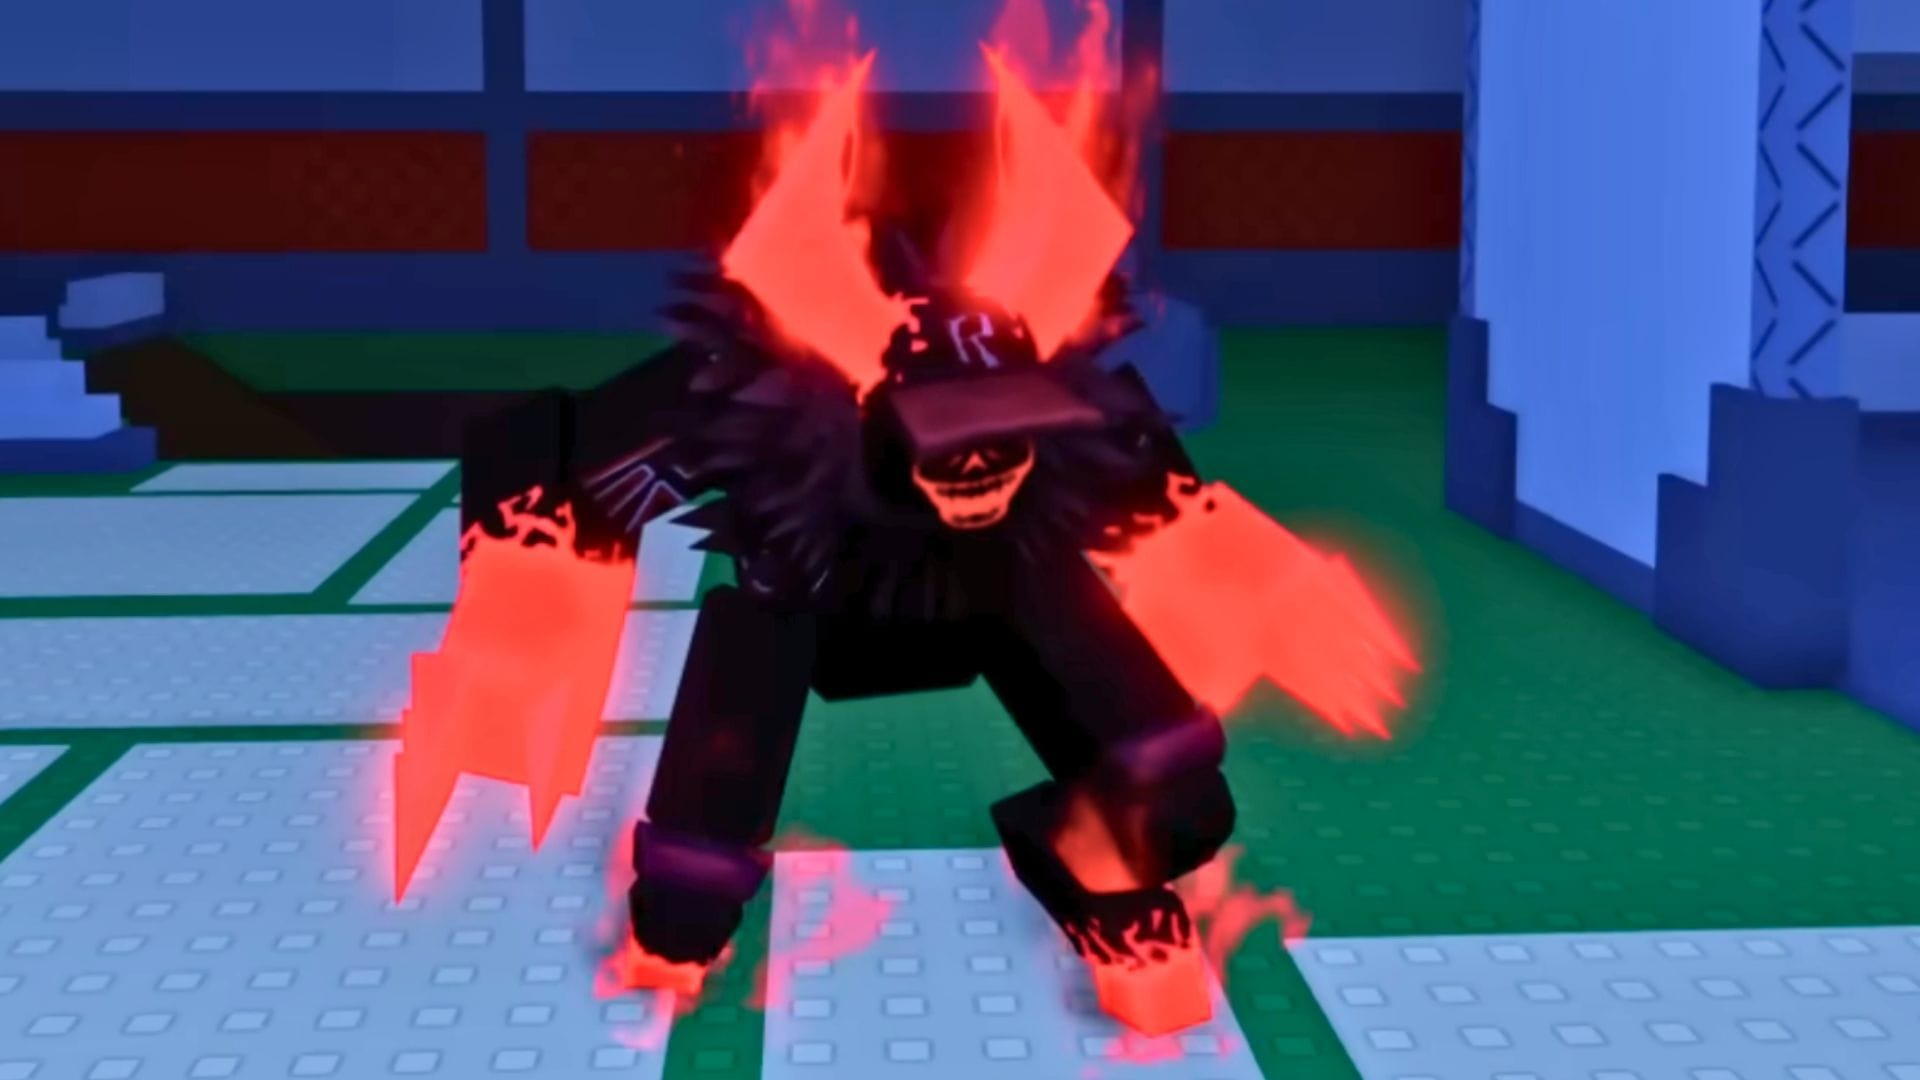
John Doe
John Doe on game banner (Image via Roblox || Forsaken Wiki)
All John Doe Abilities
Abilities
Effects
Cooldown
Damage
Slash
John Doe slashes infront of him using his claws.
1.75 seconds
28
Corrupt Energy
John Doe punches his corrupted arm into the ground and, when he pulls it out, 27 giant spikes (that last for 14s) emerge infront of him, piercing through any survivor unfortunate enough to be caught within them. Hitting a player with a spike gives John Doe Speed I for 7 seconds. Summoned spikes cannot damage the same target more than 4 times. These spikes can be used as blockades to prevent survivors from accessing certain areas.
18 seconds
12
Digital Footprint
John Doe stomps on the ground three times, commanding a shadow to emerge underneath his footsteps as a trap for survivors to walk over. If a survivor steps over the false shadow, then John Doe gets a Speed I buff for 10 seconds and the survivor gets a Corrupted I & Slowness II debuff for 10 seconds. Upon the trap being triggered, John Doe and the survivor who activated it have their auras revealed to each other for 10 seconds. The shadow despawns after contact is made with it or John Doe attempts to place down a fourth shadow. There can only be 3 shadows present at once, and attempting to create more will cause the oldest shadow to dissipate.
3 seconds
–
404 Error
John Doe’s corrupted arm pulsates twice, revealing the auras of all living survivors to him for 6 seconds.
20 seconds
–
Passives
Passive
Effect
Natural Malevolence:
For every step that John Doe takes, a trail of corruption follows behind him. Any survivor that’s unfortunate enough to step within the corruption is given Corrupted II for 3 seconds.
Unstoppable:
John Doe can only be stunned for 2 seconds while casting Corrupt Energy and 404 Error. Additionally, John Doe will roar and gain Speed I for 3 seconds upon the stun ending. The duration of the speed boost is increased by 1 second for every Sentinel Survivor currently alive. The cooldown of the ability that triggered UNSTOPPABLE is reduced by 50%.
Strategy and Tips
John Doe is a methodical trapper who reshapes the battlefield, seals exits, and forces Survivors into bad routes. His damage comes primarily from Slash, but his real strength lies in control: Corrupt Energy blocks paths, Digital Footprint punishes movement, and Natural Malevolence can catch anyone careless enough to make a wrong move.
Place Digital Footprint traps in high-traffic loops and near generators, then use Corrupt Energy to block escape routes once someone is caught. Activate 404 ERROR before committing, so you know exactly where to apply pressure instead of guessing. Trap the survivors and use Slash as your execution tool.
Noli
Noli Killer Showcase (Image via Roblox || YouTube/@PlesioRBLX)
All Noli Abilities
Abilities
Effects
Cooldown
Damage
Stab
Noli uses his Shadow Tendril to stab forwards.
1.8 seconds
25
Void Rush
Noli will prepare a rush for 1 seconds. This preperation can be cancelled. If a survivor is hit with the rush, they will gain Hallucination II for 20 seconds. After 0.85 seconds, Noli can perform a re-rush. If a survivor with Hallucination II or above is hit with the rush, Noli will slam them into the ground, dealing 30 damage and ending the move. This slam will deal 3.5 more damage for every re-rush you have performed. The rush will prematurely end if Noli is stunned, crashes into a wall, doesn’t hit a survivor in time, or lets go of the Void Rush key. Turn rate during the rush is heavily increased during the first 1.5 seconds. Noli can sprint during a re-rush to temporarily boost speed. Noli is unable to regenerate stamina for the duration of the rush.
20 seconds
10
Nova
Noli will throw his Voidstar forward after a 0.7 second windup. If the Voidstar hits a survivor or a wall, it will implode and pull survivors inward. Noli can manually detonate the Voidstar by pressing the Nova button again, but this will significantly reduce the implosion’s radius.
12 seconds
15
Observant
Mine enemies are all knit up in their distractions. Cooldown: 30s. Noli will enter a stance. All generators will be highlighted to him, and a mirage of him will display over the generators as a warning. Noli can select a generator to teleport to it after a 1.45 windup. After teleporting, Noli will inflict Hallucination I/II/III to all survivors more than 20/60/100 studs away from the generator. Stunning Noli during this windup or stance will cancel the move. This ability starts on a halved cooldown at the beginning of the game.
30 seconds
–
Passives
Passive
Effects
Hallucinations
Many of Noli’s abilities will inflict Hallucination. Having any level of Hallucination will reveal your aura to Noli for its duration. Hallucination will also cause you to hallucinate. Effects will grow stronger as Hallucination increases in level. Being hit by Noli will remove all stacks of Hallucination. Hallucination maxes at Hallucination III. At Hallucination III, a mirage of Noli will manifest and start to attack you. Do not look at it.
Prankster
At the beginning of the round, Noli will spawn Fake Generators in places where the real generators did not. If a survivor completes a Fake Generator puzzle, they will gain a stack of Hallucination. Fully completing a Fake Generator will instantly grant Hallucination III. Fake Generators have many tells to differentiate them from real generators. Pay attention to sound and visuals.
Strategy and Tips
Noli is a deception-driven ambush Killer who thrives on confusion and control rather than raw chase speed. His hallucination abilities constantly feed him information while disrupting Survivors’ awareness, making them question what’s real and what’s bait.
With passives like Void Rush and Observant, he can rapidly close gaps or appear across the map, turning every moment into a potential ambush. His slow base movement and ability wind-ups make it difficult for him to regain momentum or to control the pace when he loses it.
Build Hallucination stacks early using Void Rush and Nova, then disengage briefly so confusion sets in. Use Observant to teleport and apply pressure where survivors feel safe, forcing mistakes across the map. Once a target is fully disoriented, go in with Stab to cash out damage and reset stacks.
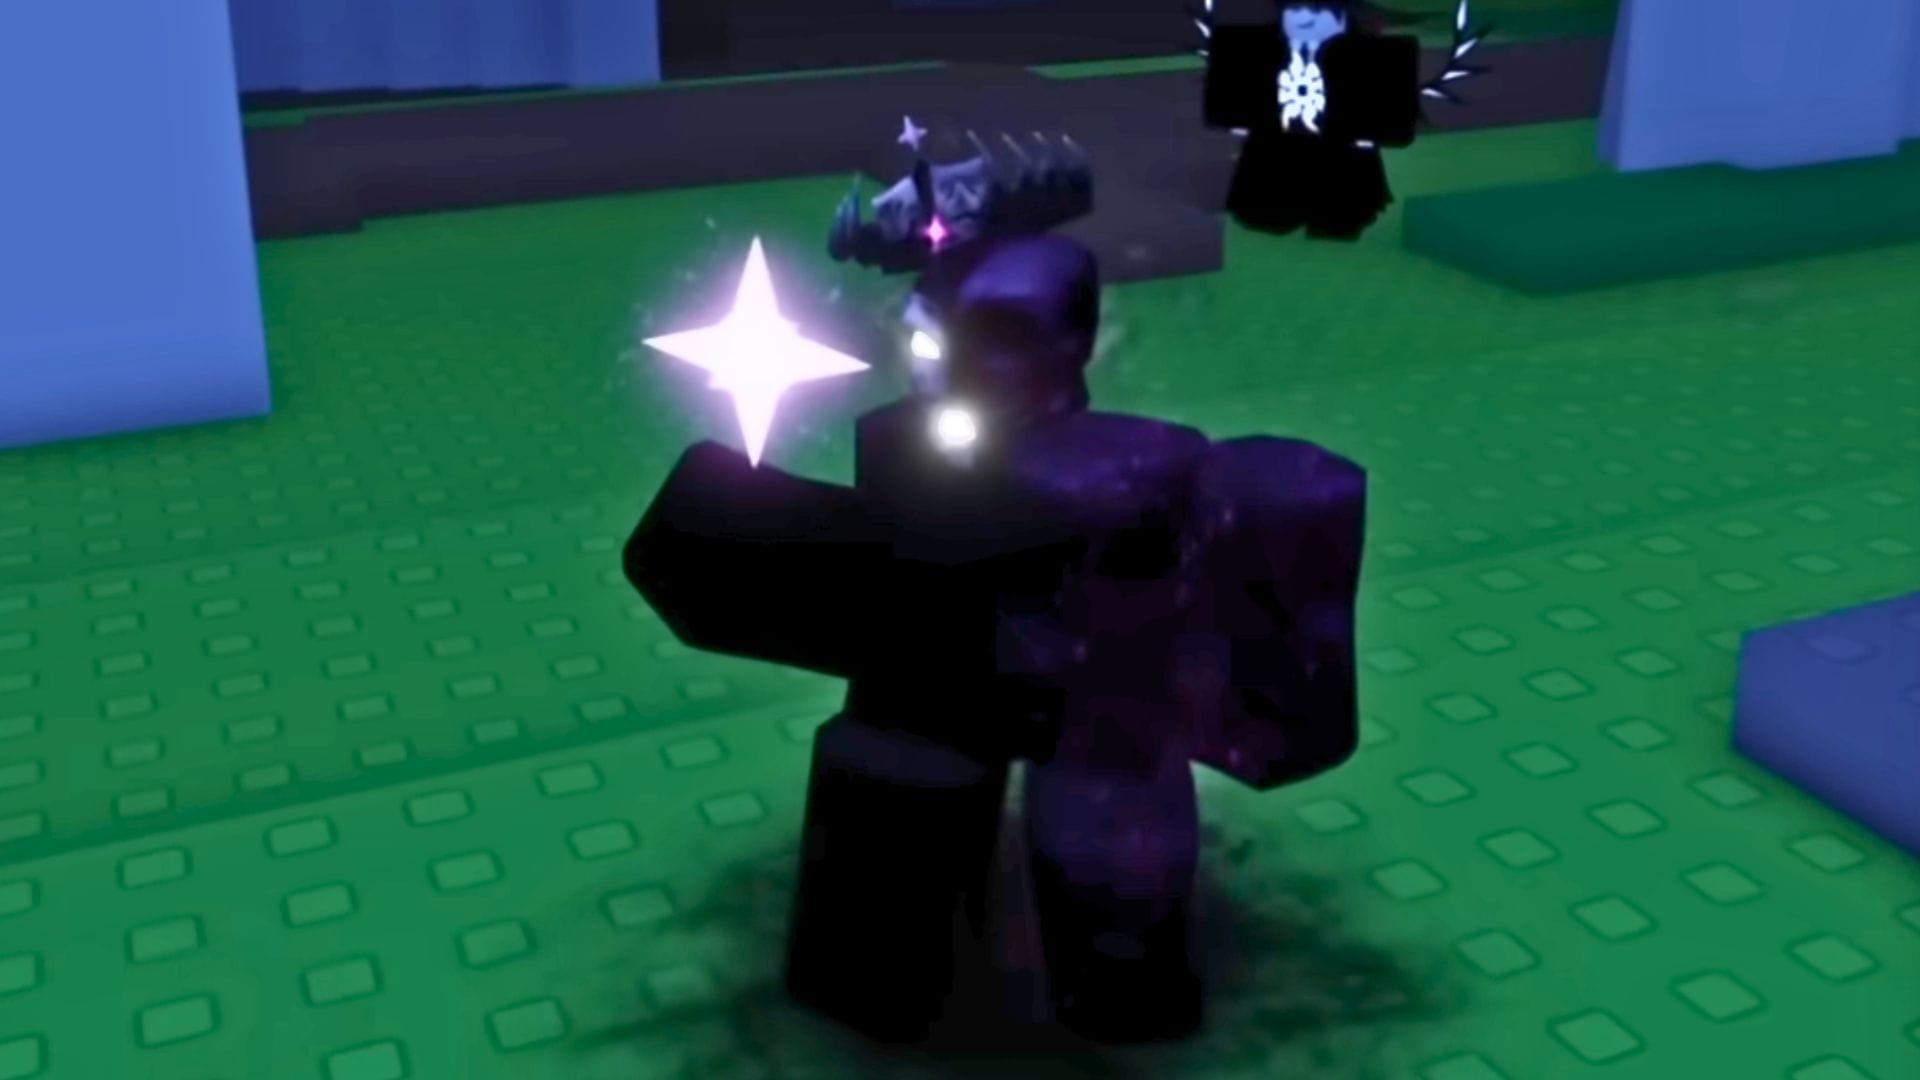
1x1x1x1
1x1x1x1 Killer showcase (Image via Roblox || YouTube/@PlesioRBLX)
Abilities and Effects
Abilities
Effects
Cooldown
Damage
Slash
1x1x1x1 swings his sword infront of him. Inflicts Glitched I for 5 seconds and Poisoned I for 5 seconds.
1.75 seconds
20
Mass Infection
Following a windup of 1.7s, 1x1x1x1 takes his two swords and performs a horizontal split with them, creating a sharp shockwave that deals damage to those it hits. Inflicts Glitched I and Poisoned I for 5s if 1x1x1x1 hits a player with the created shockwave. Inflicts Glitched II for 5s and Poisoned V for 3s and deals 25 damage if 1x1x1x1 hits a player up close. The created shockwave deals an additional 10 damage if it hits a survivor already afflicted with Glitched. Survivors hit by the shockwave have their aura revealed to 1x1x1x1 for 12s. Upon releasing the shockwave, 1x1x1x1 is granted a 10% speed boost for 1s, with this boost scaling in strength depending on the distance of the closest survivor to a max of 25% when there are no survivors within 40 studs of 1x1x1x1. It should be noted that the windup of this attack can be heard by all survivors regardless of proximity to 1x1x1x1.
15 seconds
30
Entanglement
Following a windup of 0.75s, 1x1x1x1 throws his two swords forwards at a speed of 125 studs per second. Upon hitting a survivor, they will be completely unable to move for 1s and popups will appear on their screen. Additionally, hit survivors are slightly pulled towards 1x1x1x1 and are inflicted with Glitched I and Helpless I for 6s. The strength of the pull is increased by 50% if Entanglement hits a survivor already inflicted with Glitched. Survivors hit by Entanglement have their aura revealed to 1x1x1x1 for 12s.
15 seconds
10
Unstable Eye
1x1x1x1 digs into his glaring red eye and tears at it, inflicting himself with multiple buffs and debuffs afterwards. Reveals the auras of all living players to you for 8s while also applying Speed II for 1.25s and Blindness III for 7s. The aura reveal of this ability displays the amount of health the revealed player has upon use, starting at green for full health and scaling down to red at very low health. This ability is able to be heard by every survivor when used regardless of proximity to 1x1x1x1, and it starts on a 12.5s cooldown at the beginning of the game.
25 seconds
–
Strategy and Tips
1x1x1x1 is a slow but oppressive zoner who wins by controlling space and forcing mistakes. The base movement is weak, but its abilities compensate by pulling Survivors in, tracking them constantly, and punishing positioning errors. Since their abilities can hit multiple targets, grouped players are easy targets.
Use Entanglement to pull survivors out of position, immediately follow with Slash for reliable damage. Drop Mass Infection where survivors have to move (chokepoints, rescues, or grouped targets) to maximize impact. Activate Unstable Eye before fights to pick weak targets and avoid wasting time.
Guest 666
Guest 666 Showcase (Image via Roblox || YouTube/@PlesioRBLX)
All Guest 666 Abilities
Abilities
Effects
Cooldown
Damage
Carving Slash
Guest 666 slashes forward with their claws. If the button is held for 0.65s and Guest 666 has 10 or more Blood, she follows the slash with Eviscerate. Landing this move grants 10 Blood.
–
20 seconds
Eviscerate
Guest 666 lunges forward and bites down. Hit Survivors are afflicted with Hemorrhage. This move costs 10 Blood to use but grants 15 Blood and reduces its own cooldown by 50% on hit. Missing this attack inflicts Guest 666 with Slowness I for 2s.
8 seconds
10
Demonic Pursuit
Guest 666 crouches to prepare a leap that can be charged to deal more damage and travel further. By aiming upwards, Guest 666 can jump up instead of leaping forward. Making contact with a Survivor while airborne or during the first 0.8s of a leap pins them down. If successful, Guest 666 slashes them 4 times, throws them to the side, and inflicts Hemorrhage. Successfully landing this ability grants 20 Blood. During Blood Hunt, this deals more damage based on how long a Survivor has had Hemorrhage (+0.4 for every unhealable health point).
30 seconds
–
Infernal Cry
Guest 666 will roar, producing a piercing shockwave. If a Survivor is hit by the shockwave, they will be forced to view Guest 666 and will be afflicted with Blindness II for 4 seconds. If a Survivor hit by the shockwave is already afflicted with Hemorrhage, they will additionally drop 2 Blood Orbs. Hit Survivors will also be Highlighted for 12 seconds. During Blood Hunt, the shockwave deals 10 damage, increases Blindness duration to 6 seconds, and additionally grants Guest 666 Speed I for 3 seconds and Strength I for 8 seconds on hit; however, the shockwave’s size is reduced by 10%.
20 seconds
0
Blood Rush
Guest 666 will smell the blood in the air, highlighting every Survivor. The length of the highlight increases with distance from the Survivor, upto 20 seconds at 200 studs. While Guest 666 is at maximum blood, This move is replaced with Blood Hunt.
30 seconds
–
Blood Hunt
Guest 666 will produce an ear-splitting cry audible to every Survivor, resetting all of her cooldowns and starting a Blood Hunt that lasts for 25 seconds. For the duration of Blood Hunt, Guest 666 and all Survivors suffer from many obstructive visuals, several of Guest 666’s abilities are amplified, Guest 666 cannot use Blood Rush, Guest 666 has their movement speed increased by 4%, Guest 666 has their terror radius decreased by 50%, Guest 666 has their negative status reduction from Hellforged Will increased to 50%, and Guest 666 will be able to see the position of all alive Survivors every 5 seconds appearing as a flashing red highlight, with Survivors affected by Hemorrhage flashing noticeably faster and appearing white instead of red. When Guest 666 kills a Survivor, all cooldowns are reset and the duration of Blood Hunt is extended by 15 seconds. During a chase, Blood Hunt’s timer decreases twice as slowly. When Blood Hunt ends, all Blood is instantly removed and maximum Blood is increased by 50. While Blood Hunt is active, the round cannot end. Blood Hunt is disabled if there is only one survivor left, and its duration is set to 6 seconds if only one survivor remains while it is active.
–
–
Passives
Passive
Effect
Bloodhound
Many of Guest 666’s attacks will inflict Hemorrhage, and while a Survivor is inflicted with this status, vines will begin to cover their health bar, meaning any health the vines are covering cannot be healed back. Survivors inflicted will also occasionally drop Blood Orbs, giving Guest 666 15 Blood on contact, which drop faster if the Survivor is sprinting but slower in chase. Blood Orbs have a maximum lifespan of 60s, and while Hemorrhage can be removed by other Survivors upon request or by using a Medkit, using a Medkit will not heal any health covered by the vines. Guest 666 starts with 0 Blood and a maximum of 200, and collecting Blood Orbs will reduce their cooldowns by 3s for each orb collected. Finally, killing a Survivor grants Guest 666 30 Blood, they are able to collect Blood Orbs regardless of conditions if only one survivor remains, and all of their attacks hit multiple players at once
Manic Fixation
Guest 666 will gain speed gradually while running towards highlighted survivors, upto 10% extra speed. If the survivor is not in chase with Guest 666 this speed will grow stronger, up to 15% extra speed. If there is a highlighted survivor within 30 studs of Guest 666, they will always gain the speed boost regardless of what direction they are running.
Hellforged Will
Guest 666 reduces the duration of all incoming negative status effects and stuns by 25%.
Strategy and Tips
Guest 666’s entire kit revolves around spreading Hemorrhage, forcing Survivors into a slow bleed where healing becomes ineffective and every mistake feeds into their growing power.
Use Carving Slash to farm Blood early, then weave in Eviscerate to extend chases and build momentum. Don’t rush fight, apply Hemorrhage, and let Bloodhound and passives feed you resources. When ready, use Blood Rush/Blood Hunt to turn the entire map into your hunting ground, chaining Demonic Pursuit and Infernal Cry for near-guaranteed eliminations.
Nosferatu
Nosferatu official game banner (Image via Roblox || Forsaken Wiki)
Nosferatu Abilities
Abilities
Effects
Cooldown
Damage
Lacerate
Nosferatu slashes infront of him with his claws.
1.85 seconds
24
Bloodhook
Nosferatu slows himself briefly to wind up a Blood Hook for 0.9s, and will then root himself as he throws it forward at high speed. If BLOODHOOK connects with a survivor, it will deal 15 damage and latch onto them where Nosferatu will then start dragging the survivor towards him. Both Nosferatu and the Survivor will engage in a minigame where Nosferatu will attempt to keep the survivor hooked and the survivor will attempt to escape. Nosferatu and the hit Survivor must input the correct button shown on screen in order to fight for control of the hook. If Nosferatu inputs the wrong button the Survivor will have an easier time escaping the hook, whereas if the Survivor inputs the wrong button they will be pulled further towards Nosferatu. If Nosferatu is successful in pulling the Survivor all the way towards him, he will perform a kick, dealing 20 damage and knocking the survivor away from him. If Nosferatu was within 24 studs of the survivor when BLOODHOOK initially hit them, the secondary kick will instead only deal 3 damage. Nosferatu will be briefly inflicted with Slowness II and Helpless after performing the kick. If the survivor manages to escape the hook, Nosferatu will only be inflicted with Helpless. If Nosferatu does not hit a Survivor with BLOODHOOK the cooldown of the ability will be reduced to 20s.
30 seconds
–
Cataclysm
Nosferatu will briefly wind up and then gain immense speed while also turning invisible, leaving a small trail behind him. After 1.25s, Nosferatu will stop moving and then after a short delay explode into a swarm of bats, dealing 10 damage, instantly returning to his starting point and leaving a large trail of blood in his path that will inflict Survivors with eeding II and Slowness II along with revealing them to Nosferatu for 5s if entered. The trail of blood lasts for 12s.
22 seconds
–
Hunter’s Feast
After a quick 0.23s windup, Nosferatu releases a swarm of bats that fly forward and cannot pass through walls. If Hunter’s Feast hits a survivor, they will be inflicted with Creatures I and Oblivious I for 10s, while Nosferatu will gain Invisibility V and Undetectable I for up to 10s. Nosferatu immediately loses the Invisibility and Undetectable upon using any ability. Survivors afflicted with Creatures take 25% more damage.
16 seconds
5
Ascension
Nosferatu leaps upwards before temporarily transforming into a bat and gaining free flight, during which he can flap his wings to propel himself upwards by pressing spacebar or hold the key down to hover briefly. While transformed, Nosferatu can perform a dive attack with the LACERATE ability button; a successful collision causes him to instantly revert to humanoid shape and bite a Survivor’s neck for 5 damage and a stun, followed by throwing them for 5-25 damage depending on the fall duration up to 0.55s. This dive attack has a 0.7s windup, can be heard by everyone, and features limited turn control. During the transformation, which lasts up to 10s, Nosferatu has a reduced Terror Radius and increased movement speed but cannot regenerate Stamina. If he misses the dive attack or exits the form without using it, he is inflicted with Slowness III and Helpless I for 2.5s.
32 seconds
–
Passive
Passive
Effect
Levitation
Nosferatu levitates naturally, meaning that they don’t make footstep sounds.
Strategy and Tips
Nosferatu is a stealth-driven ambush Killer who thrives on unpredictability, positioning, and isolating targets rather than prolonged chases. His abilities let him control space, disorient Survivors, and strike from angles they don’t expect.
With Nosferatu, you can win before the chase even begins. Use Levitation and invisibility tools to approach silently, then isolate targets with Bloodhook instead of engaging groups. Drop Cataclysm in loops or escape paths to punish movement and force survivors into predictable routes. Start fights with Hunter’s Feast to gain invisibility, then reposition and strike when they lose track of you. Use Ascension as your finishing move that must be committed only when you’re confident that it lands.
FAQs on Forsaken
What is the main objective for Killers in Forsaken?
The role of a Killer in Forsaken is to hunt down and eliminate every Survivor before the time runs out.
Which Killer is best for beginners in Forsaken?
For newcomers, Slasher and C00lkidd are the most forgiving picks. Slasher offers straightforward, chase-heavy gameplay, while C00lkidd brings speed and aggression with abilities that are easier to land.
Which are the current playable Killers in Forsaken?
As of now, C00lkidd, Slasher, Noli, John Doe, 1x1x1x1, Guest 666, and Nosferatu are the only playable Killers.